ChatGPT Sketch turns your bad drawings into detailed AI images
A step-by-step guide to using ChatGPT Sketch to transform sketches into AI images
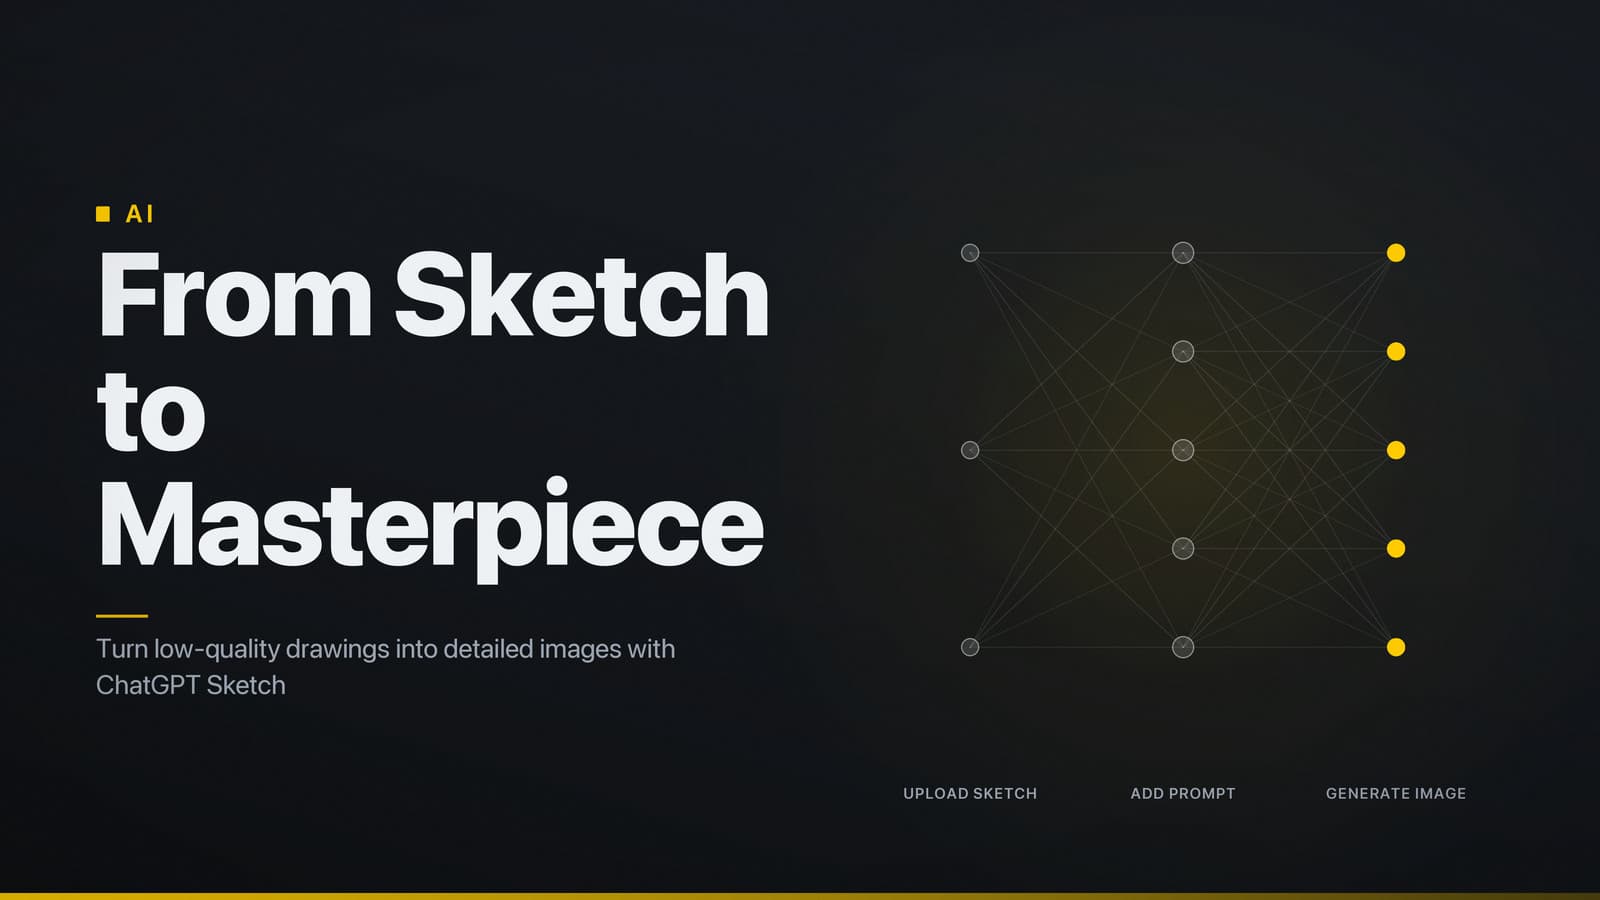
1. Quickstart – Upload a Sketch and Get a Detailed Image
What you need: a ChatGPT account, a raster sketch (PNG, JPEG, or SVG) under 10 MiB, and a short text prompt describing the desired style.
Web workflow
Open chat.openai.com and sign in.
Click “+ New Chat” in the left‑hand sidebar.
In the message composer, select the paper‑clip / Upload icon.
Choose the sketch file. The system accepts any pixel dimensions; larger images retain more detail before the model rescales them to a standard processing size.
Type a prompt that adds style information, for example:
Turn this line drawing into a realistic watercolor portrait with warm colours and high detail.Press Enter. The model returns a thumbnail; click it to view the full‑resolution result.
Use the Download button below the image to save the file.
Mobile workflow (iOS / Android)
- Open the official ChatGPT app and sign in.
- Tap the new‑chat (plus) icon.
- Tap the camera or gallery icon in the composer to select a sketch from your device.
- Enter a prompt in the on‑screen keyboard and tap Send.
- The generated image appears in the chat stream; long‑press to save or share.
File limits (as documented by OpenAI)
| Limit | Value |
|---|---|
| Maximum file size | Subject to OpenAI’s file size limits (see documentation) |
| Accepted formats | PNG, JPEG, SVG |
| Internal processing size | Images are automatically down‑sampled to a standard resolution for processing |
If you receive a “file too large” error, reduce the image dimensions with any standard editor before retrying.
2. Sketch Quality & Preparation
The model is optimized for clear line art. It extracts edges from the raster image and then generates texture, colour, and shading based on the accompanying text prompt. The following guidelines improve the reliability of the output.
Recommended characteristics
| Characteristic | Guidance |
|---|---|
| Line thickness | Aim for 1–3 px after any scaling. Thin lines preserve detail; very thick strokes can cause distinct features to merge. |
| Contrast | Use high contrast (dark lines on a light background). The edge detector works best when the line colour is clearly separated from the background. |
| Pixel dimensions | Upload images with the largest practical dimensions (e.g., 2000 × 2000 px). The model will down‑sample to its internal size, so more source pixels retain finer detail. |
| Background | Keep the background plain white or transparent. Complex backgrounds may be interpreted as part of the subject. |
| Style | Simple outlines, cartoon‑style drawings, or basic architectural plans work well. Highly stylised or heavily textured sketches may be misinterpreted. |
Simple preprocessing steps
- Increase contrast – In a free editor (e.g., GIMP or Photopea) adjust the Levels or Curves so that the darkest pixels become black and the lightest become white.
- Remove stray marks – Erase any extraneous lines that are not part of the main subject.
- Standardise line width – Apply a “Stroke” filter if needed; keep the final line width under 5 px after scaling.
- Crop tightly – Eliminate large margins; the model focuses on the central content, and excess white space reduces effective resolution.
- Export as PNG – PNG preserves crisp edges without the compression artefacts that JPEG can introduce.
Limits of input quality
In practice, the model works best with clean line art. Heavily shaded, low‑contrast, or extremely low‑resolution sketches (e.g., under 200 px on the longest side) often lead to vague or incorrect results. When a sketch does not meet these criteria, consider either redrawing it with clearer lines or providing a detailed textual description instead of an image.
3. Availability, Pricing & Limits
Who can use the feature
| Plan | Access | Typical daily image quota* |
|---|---|---|
| Free tier | Upload button is visible in the chat UI. | Limited quota (see note). |
| ChatGPT Plus | Same UI plus higher quota and priority processing. | Higher quota (see note). |
| Enterprise / API | Requires a separate contract with OpenAI; may include a dedicated endpoint for batch processing. | Negotiated per‑contract. |
*Quota numbers change with policy updates. The current limits are displayed in the Usage section of the account dashboard. Users should consult that page for the most up‑to‑date figures.
If the Upload icon is missing, the Sketch feature is not enabled for your account.
Pricing (USD)
| Plan | Cost | What it includes |
|---|---|---|
| Free tier | No cost | Access to the Sketch tool with a daily image generation quota. |
| ChatGPT Plus | Paid subscription (see OpenAI pricing page) | Higher daily quota, faster response times, and priority access. |
| Pay‑as‑you‑go credits | Variable pricing based on resolution and model version | If a user exceeds the Plus quota, additional generations can be purchased as image credits. Prices depend on resolution and model version and are shown in the billing section of the dashboard. |
Regional note: Prices are shown in USD. Some regions may display local currency equivalents or be subject to taxes; users should verify the final amount on the OpenAI billing page.
Platform constraints
- The Sketch feature is only available through the official ChatGPT web interface and the iOS/Android apps. Third‑party integrations that embed ChatGPT may not expose the upload capability.
- Certain jurisdictions impose regulatory restrictions on generative‑AI image services. If a “service unavailable” message appears, it is likely due to local policy rather than a technical fault.
Operational limits
| Limit | Detail |
|---|---|
| Maximum upload size | Subject to OpenAI’s file size limits (see documentation) |
| Concurrent generations | Only one generation runs per chat session; initiating a new request before the previous one finishes cancels the earlier job. |
| Image retention | Generated images remain in the conversation history as long as the chat is kept. They are not automatically deleted after a set period. |
4. Behind the Scenes – How the Model Adds Detail
ChatGPT Sketch uses the same family of diffusion models that power OpenAI’s DALL‑E 3 generator. The workflow can be divided into three stages.
1. Edge extraction
When a sketch is uploaded, a lightweight edge detector (similar to the Canny algorithm) converts the raster image into a binary map of lines. This map is encoded into a latent representation that the diffusion model can process.
2. Conditioned diffusion
The core engine is a latent diffusion model (LDM) trained on millions of paired line‑art and fully rendered images. During generation the model receives two conditioning signals:
- Latent sketch map – Provides spatial structure and preserves the outline of the subject.
- Text prompt embedding – Derived from OpenAI’s CLIP model, it supplies semantic guidance such as “watercolor,” “cyberpunk,” or “soft lighting.”
The diffusion process iteratively denoises a random latent tensor, guided simultaneously by the sketch map (to keep outlines intact) and the text embedding (to shape colour, style, and content). This dual‑conditioning is often described as CLIP‑guided diffusion.
3. Decoding and up‑scaling
After 25–50 denoising steps, the latent tensor is decoded into a pixel image. An optional super‑resolution stage can upscale the result, improving sharpness without inventing new details.
Why texture and shading appear
The training dataset contains many examples where a simple line drawing is paired with a richly painted version. The model learns statistical correlations between line configurations and likely surface properties (e.g., a closed loop often corresponds to a face, parallel lines may indicate fabric). When the prompt specifies “soft lighting” or “metallic sheen,” the text conditioning steers the diffusion toward those learned textures.
Limitations of the technique
- **Ambiguity handling