Create Professional Videos Fast with an AI Editing Tool
Learn how to produce polished videos quickly using AI editing software, with step‑by‑step guidance for small business owners.
The Shift from Hiring to Doing
For years, if a small business owner wanted to post a professional‑looking video on Instagram, TikTok, or YouTube, the options were limited. You either hired a freelance video editor, paying a premium for every minute of content, or you spent hours learning complex software like Adobe Premiere Pro or DaVinci Resolve. Both paths presented significant barriers. Hiring is often expensive and involves a long turnaround time. Learning pro‑grade software requires a steep learning curve that competes with the daily demands of managing inventory, staff, and customer service.
The landscape has shifted. AI‑powered video editing tools have become capable of handling many of the tedious, mechanical parts of video production. These tools can automatically cut silences, sync audio, adjust lighting levels, and generate captions. This does not mean you no longer need a human touch, but it does mean you can produce polished content in a fraction of the time previously required. For a non‑technical owner, the goal is not to become a filmmaker, but to become a competent content publisher who leverages automation to save time.
The core value of these tools lies in streamlining the workflow. Instead of dragging and dropping clips on a timeline for hours, you upload raw footage, and the software suggests a cut. This reduces the initial friction that often stops small business owners from posting video at all. However, like any new technology, there is a learning curve. The key is understanding what the AI can do for you and where it needs your supervision to ensure the result feels authentic to your brand.
How AI Editing Tools Actually Work
To use these tools effectively, it helps to understand the basic mechanisms. While specific features vary by platform, most modern AI video editors rely on three primary functions: transcription‑based editing, automated visual adjustments, and template‑driven assembly.
Transcription‑Based Editing
This is often the most powerful feature for business owners. You record a video of yourself speaking, or you upload a podcast or interview. The AI transcribes the audio into text. You then edit the video by editing the text. If you delete a sentence in the transcript, the video cuts that section out. This is incredibly fast. For a service firm, for example, creating a “Top 3 Tips for Choosing a Lawyer” video becomes as simple as recording the talk and trimming the text to remove fluff and long pauses.
Automated Visual Adjustments
These tools analyze your footage to fix common technical issues. They can automatically balance color, stabilize shaky handheld shots, and normalize audio levels so that a quiet microphone doesn’t sound muffled next to a loud one. They can also detect faces and keep the speaker centered in the frame. For a restaurant owner filming a quick tour of the kitchen, this means the video looks professional even if the camera work was imperfect.
Template‑Driven Assembly
Many AI tools offer templates for specific social‑media formats, such as 9:16 vertical videos for TikTok or Instagram Reels. You drop your clips into the template, and the AI arranges them to fit the beat of a background track or the rhythm of your speech. This ensures that your content meets the technical specifications of the platform, which is a common pain point for manual editors who might forget to crop for mobile.
It is important to note that “AI” here is not magic. It is a set of algorithms designed to recognize patterns. It will not understand your brand voice unless you guide it. It will not know if a joke landed well or if a product feature was explained clearly. It handles the mechanics; you handle the message.
Practical Workflow for Different Business Types
The way you use an AI editing tool will depend on what kind of business you run. The workflows below are general guides, but specific applications will vary based on your content strategy.
For Service‑Based Businesses (Clinics, Agencies, Schools)
Your content is often educational or testimonial.
- Record: Use a phone or a simple webcam. Record a 2‑3 minute video answering a common customer question.
- Upload: Import the file into the AI editor.
- Edit Text: Use the transcription feature to remove “ums,” “ahs,” and long pauses. Tighten the script.
- Add Captions: Enable auto‑captions. Most viewers watch social media on mute. Ensure the captions are accurate.
- Export: Choose the vertical format for social media.
Example: A dental clinic owner records a video explaining a common dental issue. Consider having a qualified professional review any medical or health‑related content before publishing to help ensure accuracy and compliance with local regulations. The AI cuts the dead air between sentences. The owner adds a bold caption for the key takeaway. The result is a concise clip that highlights the main point without requiring manual timeline editing.
For Retail and Restaurants
Your content is visual and promotional.
- Capture: Film short B‑roll clips of your products, store interior, or food being prepared. Keep clips short (3‑5 seconds).
- Import: Upload multiple clips.
- Select Template: Choose a “Product Showcase” or “Behind the Scenes” template.
- Sync: The AI will automatically cut the clips to match the beat of the music.
- Adjust: Manually reorder clips if the AI’s suggestion doesn’t make sense (e.g., showing the finished dish before the cooking process).
- Add Text: Add a call‑to‑action, like “Open Today until 9 PM.”
Example: A boutique clothing owner films 10 clips of new arrivals. The AI assembles them into a fast‑paced montage. The owner swaps one blurry clip and adds a text overlay with the store’s address. The result is a polished reel that highlights the new inventory without requiring manual timeline editing.
For Local Service Providers (Salons, Gyms, Logistics)
Your content is about trust and process.
- Record: Film a “How It Works” video or a customer testimonial.
- Clean Audio: Use the AI’s audio‑enhancement tools to reduce background noise (like a hair dryer or gym equipment).
- Stabilize: If the camera was handheld, apply stabilization.
- Brand It: Add your logo and brand colours.
- Export: Save in high quality for your website or Facebook page.
Example: A gym owner films a trainer demonstrating a workout. The AI stabilizes the shaky footage and boosts the audio so the trainer’s instructions are clear. The owner adds the gym’s logo in the corner. The video is ready to post on Facebook to attract local members.
Common Pitfalls and How to Avoid Them
While AI tools save time, they can introduce specific issues if you are not careful. The most common mistakes generally fall into three categories: visual consistency, audio quality, and technical specifications.
Over‑Reliance on Auto‑Effects
AI tools are designed to make your video look “good” by applying standard filters and transitions. However, if every business in your town uses the same AI tool with default settings, your video may look generic. It might feel like a mass‑produced ad rather than a personal invitation from your business.
- Start with a neutral base: If the AI applies a heavy colour filter, turn it down or remove it.
- Add a personal touch: Include a shot of your face, your team, or your specific storefront. AI can cut clips, but it cannot create a personal connection.
- Customize transitions: Avoid using flashy, automatic transitions for every cut. Simple cuts are often more professional and less distracting.
- Review the pacing: AI might cut too fast or too slow. Watch the video at full speed. If it feels rushed, slow it down. If it feels draggy, tighten it up.
Inconsistent Audio Levels
Audio is the first thing viewers notice. If the volume jumps up and down, viewers will turn off the video. AI tools can normalize audio, but they are not perfect. They might boost background noise along with your voice, or they might miss a sudden loud sound.
- Check the waveform: Most editors show a visual representation of audio (a waveform). Look for spikes. If you see a huge spike, that’s a loud noise. You can manually lower the volume for that section.
- Listen with headphones: Always listen to your video with headphones before exporting. You will hear issues that you might miss with speaker playback.
- Use a consistent microphone: If you are recording talking‑head videos, try to use the same microphone or phone position each time. This makes it easier for the AI to normalize levels consistently.
- Add a music bed: A low‑volume background music track can mask minor audio inconsistencies and make the video feel more polished.
Platform Specification Errors
Each social‑media platform has specific requirements for video dimensions, length, and file size. If you upload a video that is too large, too wide, or in the wrong format, it may not play, or it may be compressed heavily, making it look pixelated.
- Know your target: Before you start editing, decide where you are posting. Instagram Reels and TikTok prefer vertical (9:16) videos. YouTube prefers horizontal (16:9). Facebook works with both but favors square (1:1) or vertical.
- Use the right export settings: Most AI tools have presets for major platforms. Select the preset that matches your destination. Do not just click “Export” without checking the settings.
- Check the file size: Some platforms have file‑size limits. If your video is too large, lower the export quality slightly.
- Preview before posting: Always download the final file and open it on your phone to check how it looks. This ensures that the aspect ratio is correct and the audio is synced.
| Pitfall | Symptom | Solution |
|---|---|---|
| Generic Look | Video looks like everyone else’s; lacks brand personality. | Reduce auto‑filters; add personal footage; customize transitions. |
| Audio Issues | Volume jumps; background noise is distracting. | Listen with headphones; manually adjust spikes; use a consistent mic. |
| Spec Errors | Video is blurry, cut off, or fails to upload. | Use platform‑specific presets; check aspect ratio; preview on mobile. |
Choosing the Right Tool
Not all AI video editors are created equal. When choosing a tool, look for features that align with your specific needs. Since pricing and features change frequently, you should always verify the current details on the vendor’s website.
Ease of Use
If you are not technical, prioritize simplicity. Look for tools that have a drag‑and‑drop interface and clear, plain‑language instructions. Avoid tools that require you to understand complex timelines or keyframes unless you are willing to invest time in learning them.
Integration with Your Workflow
Does the tool integrate with your existing software? For example, if you use a CRM to manage customer leads, check whether the video tool lets you easily share links or embed videos. If you use a website builder, see if the tool provides a simple embed code.
Cost and Scalability
Most AI video tools operate on a subscription model. Prices vary widely. Some are free with watermarks, while others charge per user per month. Consider how many videos you plan to make. If you only need one or two a month, a lower‑tier plan may be sufficient. If you are running a marketing campaign with daily content, you may need a higher tier. Check the vendor’s current pricing page for the most up‑to‑date information.
Support and Community
Look for tools that have good customer support and an active community of users. If you get stuck, being able to ask questions in a forum or chat with support can save you hours of frustration.
It is also worth noting that AI tools are constantly evolving. A feature that is not available today may be added in the next update. Choose a tool from a company that has a track record of regular updates and responsive customer service.
For context on how AI is reshaping other parts of the business, you might find our article on how Shipt is using AI in its delivery services interesting, as it shows how automation is becoming standard in customer‑facing services. Similarly, if you are looking to streamline other administrative tasks, our guide on choosing the best AI resume builder offers practical tips on evaluating AI tools for HR and recruitment.
Getting Started: A Step‑by‑Step Checklist
To help you begin, here is a simple checklist to follow for your first AI‑edited video.
- Define the Goal: What do you want this video to achieve? (e.g., attract new customers, explain a service, promote a sale).
- Script or Outline: Write down the key points you want to cover. Keep it concise.
- Record: Capture your footage. Use natural light and a quiet room.
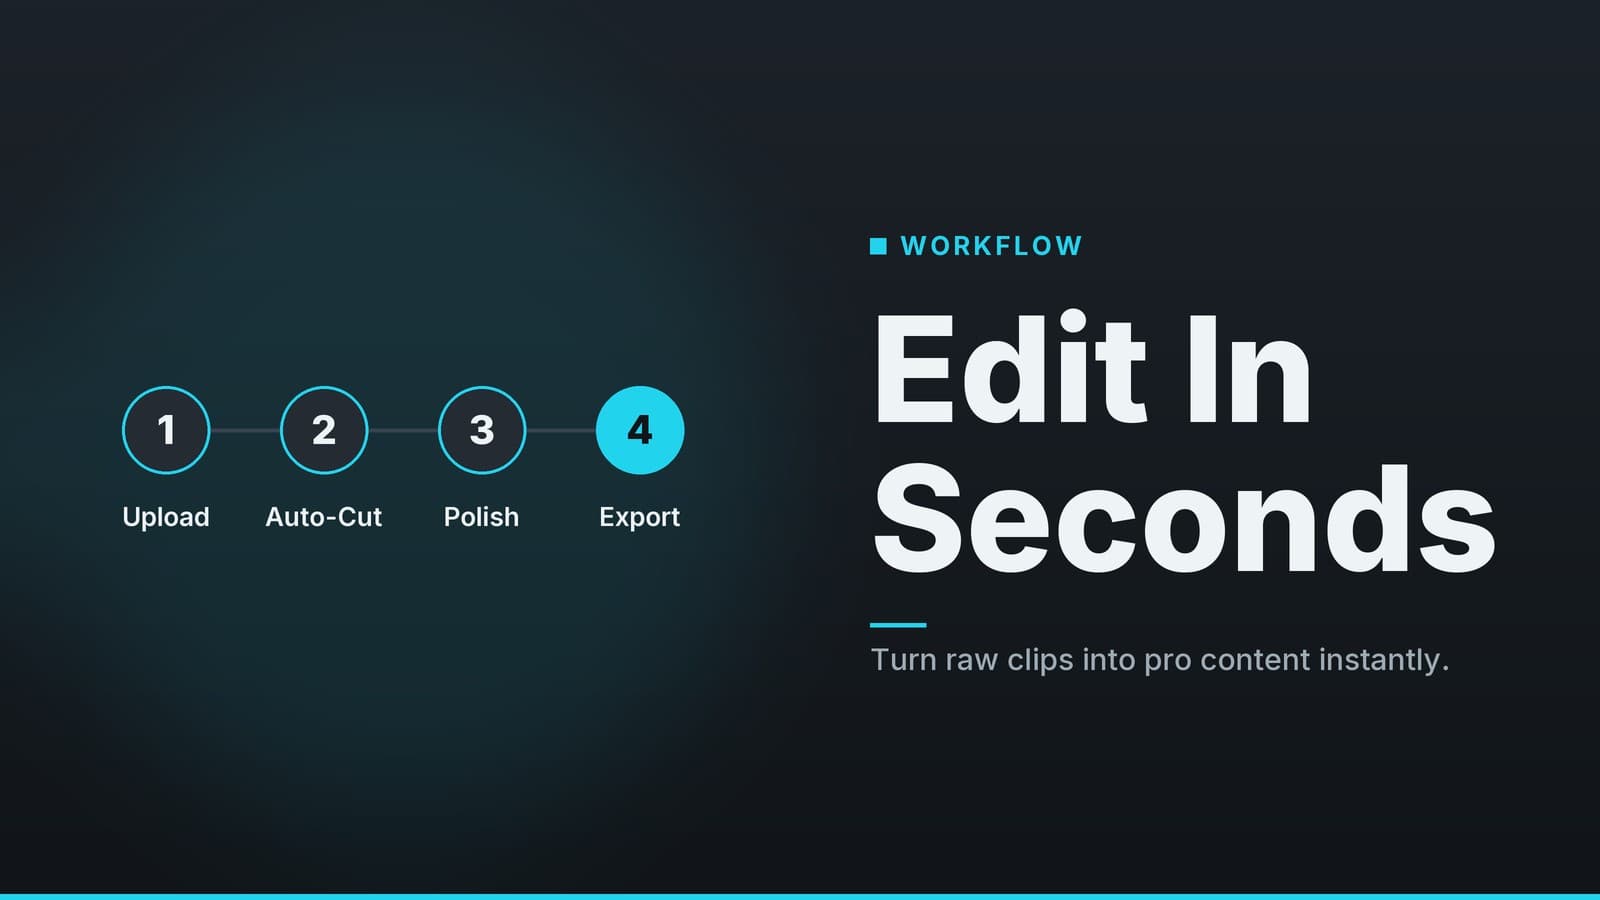
- Upload: Import your files into the AI editor.
- Edit: Use the AI’s auto‑cut and text‑editing features to tighten the content.
- Enhance: Apply audio normalization and basic colour correction.
- Brand: Add your logo, captions, and call‑to‑action.
- Review: Watch the video on your phone. Check audio, video quality, and pacing.
- Export: Select the correct format for your platform.
- Post: Upload the video and engage with comments.
By following this process, you can produce professional‑looking videos without hiring a full‑time editor. The key is to start small, experiment with the tools, and refine your workflow over time.
How HeyGrowin can help
HeyGrowin supports small businesses in adopting technology that saves time and drives growth. We can work with you to integrate video content into a broader digital strategy, ensuring your marketing efforts are cohesive and effective. Visit heygrow.in to explore our solutions and see how we can support your business goals.
Frequently asked questions
Do I need a video camera to use an AI editing tool?
No, you can edit footage you already have, such as smartphone videos or stock clips. However, higher‑resolution footage gives better results.
Can I edit videos on my phone?
Many AI editing tools offer mobile apps, but the desktop version usually provides more features and a larger timeline for complex edits.
Is the AI editing tool secure?
Most reputable vendors use encryption and comply with data‑privacy standards, but always review their privacy policy before uploading sensitive footage.